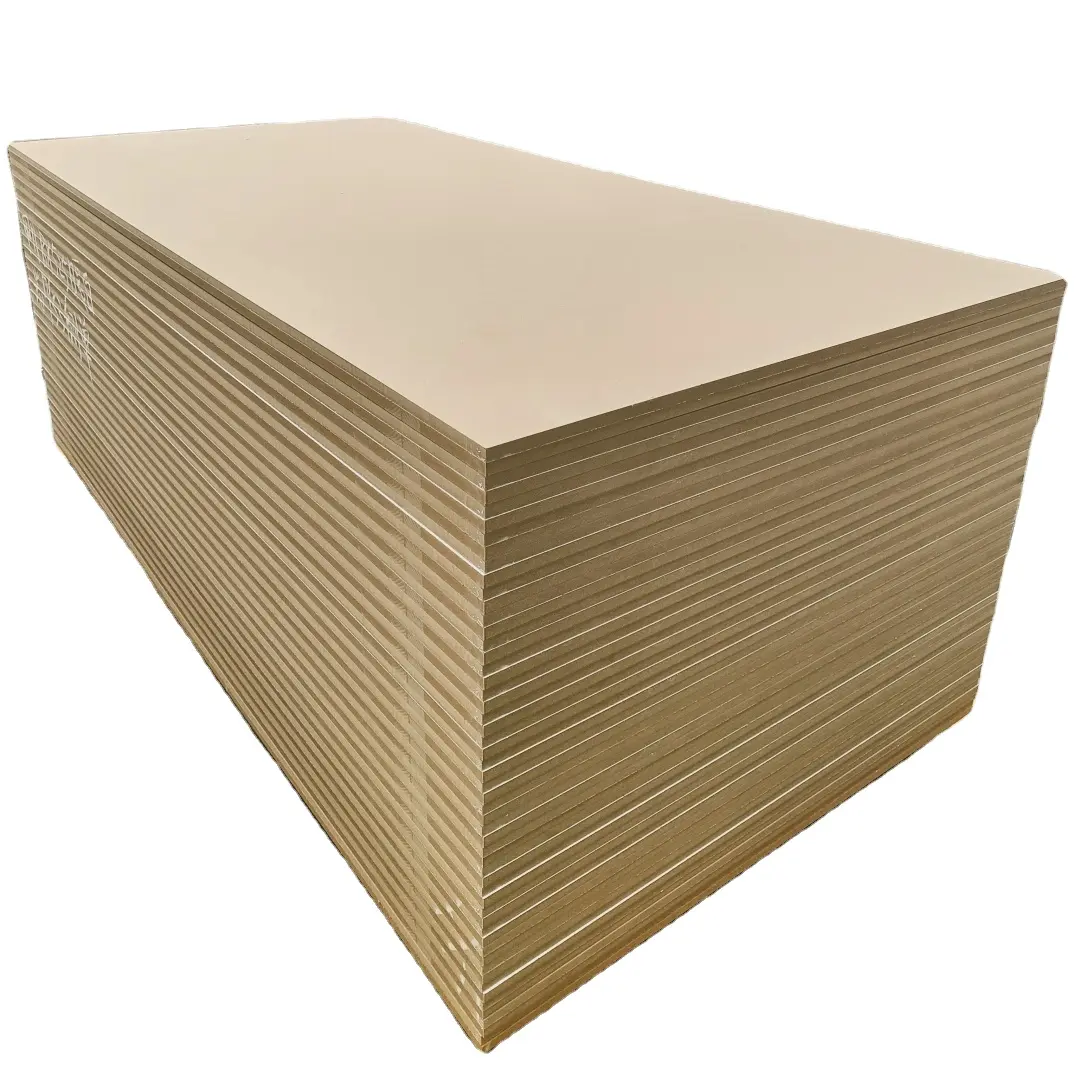
Medium-Density Fiberboard, or MDF, is a true workhorse in the world of furniture and cabinetry. As a manufacturer named Allen, I oversee the production of countless MDF board sheets that we ship from China to professionals like Mark Thompson in the USA. Mark knows the value of MDF: it’s stable, affordable, and has a perfectly smooth surface. But the most common question I get is, "What’s the best way to finish it?" Unlike natural wood, you can’t just apply varnish or paint directly and expect a great result. The unique composition of MDF requires a specific process to seal it properly. This guide will provide you with the expert knowledge to transform an unfinished MDF board into a beautifully finished piece with a durable, professional look.
Why Can’t You Just Varnish or Paint MDF Directly Like Wood?
The main reason you can’t treat MDF like a typical piece of wooden furniture comes down to its construction. MDF is made from fine wood fibers combined with wax and a resin binder, all pressed together under high pressure. The face of an MDF board is very dense and smooth, but the edges are a different story. When you cut MDF, you expose the porous core, which acts like a sponge.
If you try to apply paint or varnish directly to an unsealed MDF edge, it will just soak it up unevenly. The result is a fuzzy, rough texture that looks terrible and offers poor protection. The face of the board will also absorb the first coat of paint more than solid wood, leading to a blotchy appearance and requiring many more coats for good coverage. To get a professional finish, you must first seal the entire surface, especially the edges, to create a stable, non-porous foundation. This preparation is the secret to a finish that is both beautiful and durable.
What is the Crucial First Step Before You Apply Any Finish to MDF?
Before you even think about opening a can of primer or varnish, preparation is key. A pristine surface is essential for getting the subsequent coats to adhere properly and look perfectly smooth. This initial step is simple but should never be skipped.
Start by inspecting your MDF board. The faces are usually very smooth from the factory, but you should still give the entire piece a very light sanding. Use a fine-grit sandpaper, something like a 180 or 220-grit paper. The goal here isn’t to remove material but to gently scuff the surface, which gives the primer something to grip onto. Pay special attention to any cut edges. Sand them lightly to knock down any loose fibers from the saw cut.
After sanding, the most crucial step is cleaning. MDF dust is incredibly fine and will ruin your finish if left on the surface. Wipe down the entire piece with a tack cloth or a lint-free cloth slightly dampened with denatured alcohol. The alcohol will help pick up all the fine dust and will evaporate quickly without raising the fibers of the MDF. Make sure the board is completely clean and dry before you proceed.
How Do You Properly Seal MDF Edges for a Flawless Finish?
This is the most important part of the entire process. If you master this, you’re 90% of the way to a professional-looking project. As we discussed, the edges of MDF are incredibly porous and must be sealed to create a hard, non-absorbent surface. There are a few effective methods to seal MDF edges.
A popular and inexpensive option is to use PVA wood glue (the regular white or yellow kind). You can thin it slightly with water (about 3 parts glue to 1 part water) to make it easier to spread. Use your finger or a small brush to apply a thin, even coat of the glue mixture along all the cut edges. As it starts to dry, it will raise some wood fibers. Don’t worry. Let it dry completely, and then sand the edge smooth with 220-grit paper. You may need to apply a second coat for a perfectly sealed edge.
Another great method is to use drywall joint compound. It’s easy to work with and sands beautifully. Smear a thin layer onto the edges, forcing it into the porous surface. Once it’s completely dry, sand it back until it’s perfectly flush and smooth. For the ultimate seal, a solvent-based sealer like a shellac-based primer is fantastic. It dries quickly and creates a very hard surface. Whichever method you choose, the goal is the same: to create a sealed edge that feels as smooth as the face of the board.
What Type of Primer Should You Apply to Seal an MDF Surface?
Once your edges are sealed and the whole piece is clean, it’s time to prime. The primer serves two purposes: it provides the final seal for the entire MDF surface and creates a perfect base for your paint or varnish to adhere to. Choosing a good primer is essential.
Avoid using a standard water-based latex primer as your first coat on raw MDF. The water content can cause the wood fibers on the surface to swell, resulting in a slightly fuzzy texture that you’ll have to sand away. While you can use a water-based primer, you’ll get better results with a solvent-based option for the initial sealing coat.
Here are the best primer options for MDF:
- Shellac-Based Primer: This is the top choice for many professionals. Products like Kilz Original or Zinsser B-I-N are shellac-based. They are alcohol-based, so they dry incredibly fast, stick to anything, and do an amazing job of sealing the MDF surface without raising any fibers.
- Oil-Based Primer: An oil-based primer is also an excellent option. It provides a very durable and effective seal, creating a great base for any kind of top coat. It takes longer to dry than shellac, but the result is fantastic.
- MDF-Specific Primer: Some paint manufacturers offer primers specifically formulated for MDF. These are often a good choice as they are designed to handle the unique properties of the material.
To apply a primer is to guarantee the quality of your final finish. This step ensures your topcoats look even and professional.
What’s the Best Way to Apply a Primer for an Even Coat?
How you apply the primer is just as important as which one you choose. The goal is to get a thin, even coat without any drips or heavy brush marks. You have a few choices for application: brush, roller, or spray.
For most DIY projects like a shelf or a small cabinet, a high-quality brush or roller combination works perfectly. Use a good synthetic brush (like a Purdy or Wooster) to "cut in" the edges and corners, and then use a small, high-density foam roller for the large, flat surfaces. The foam roller is great for MDF because it leaves a very smooth, spray-like finish with no texture. Apply the primer in thin coats. It’s always better to apply two coats of thin primer than one thick, heavy coat.
If you have the equipment, spraying is the fastest way to get a flawless finish. Whether you use an HVLP (High Volume, Low Pressure) spray gun or even aerosol cans of primer, spraying lays down a perfectly even layer. If you are spraying, make sure you work in a well-ventilated area and wear the appropriate safety gear. Regardless of your method, let the first coat to dry completely according to the manufacturer’s instructions. Then, lightly sand the entire piece with fine-grit sandpaper (220-400 grit), wipe away the dust, and apply your second coat.
Can You Apply Varnish Directly on MDF After Priming?
Yes, but it depends on the look you want. Varnish is a clear protective finish. Its job is to provide durability, protect the material from moisture and scratches, and give it a certain level of sheen (from matte to high gloss).
If you apply varnish directly over a standard white or grey primer, you will simply have a sealed piece of MDF with a clear finish over a painted base. This is a perfectly fine and durable finish. However, most people use varnish over wood to enhance the natural wood grain. Since MDF has no wood grain, applying a clear varnish on mdf is purely for protection and sheen. You cannot stain MDF like you would pine or oak and then varnish it to bring out the grain.
The more common approach is to either paint the MDF with your desired color first and then apply a clear varnish as a protective top coat, or to use a colored varnish or polyurethane. The primed surface creates the perfect foundation for either of these options, ensuring the finish is even and professional. Many of our customers use our high-quality melamine faced MDF boards as a way to bypass this entire finishing process, but for custom colors, this sealing and priming process is the way to go.
What Are the Different Types of Varnish Suitable for MDF?
Once your MDF is primed and ready, you can choose a varnish to act as your protective top coat. Your choice will depend on the desired durability, sheen, and ease of application. It is vital to ensure that the varnish you choose is compatible with the primer you used.
Here are the main types of varnish that work well on a properly sealed MDF board:
- Water-Based Polyurethane Varnish: This is a very popular choice. It’s low-odor, dries quickly, and is easy to clean up with water. It goes on crystal clear and does not yellow over time, making it perfect for applying over light-colored paint. It provides good durability and is a great option for furniture, cabinets, and shelving.
- Oil-Based Varnish/Polyurethane: Oil-based finishes are known for their exceptional durability. They create a very hard, scratch-resistant surface. However, they have a strong odor, take much longer to dry, and can impart a slight amber tint to the finish, which may alter the color of the paint underneath. Clean-up requires mineral spirits.
- Acrylic Varnish: This is another water-based option that is very similar to polyurethane. It’s often found in craft stores and is available in spray cans, making it easy to apply for smaller projects. It provides a good, clear, protective finish.
For any project, whether it’s a picture frame or a full set of cabinet doors, choosing a suitable varnish will secure the paint and protect your work for years to come.
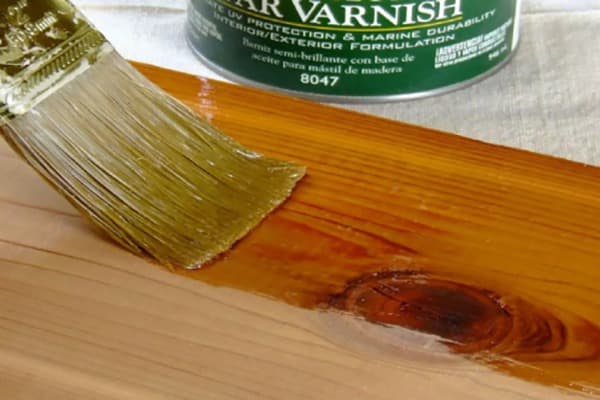
How Do You Apply Varnish to MDF for a Durable, Professional Finish?
The key to a beautiful varnish mdf finish is patience and multiple thin coats. Rushing the process will lead to a sticky, uneven result. The goal is to build up the finish slowly.
Here’s the step-by-step process to apply varnish correctly:
- Start with a Clean Surface: After your final coat of primer (or paint) is completely dry, make sure the surface is free of any dust. Wipe it down one last time with a tack cloth.
- Apply the First Coat: Using a high-quality synthetic brush (for water-based finishes) or a natural bristle brush (for oil-based), apply a very thin, even coat of varnish. Work in one direction, using long, smooth strokes. Don’t over-brush the area.
- Let it Dry Completely: This is crucial. Follow the manufacturer’s instructions for dry time. Don’t rush it. Waiting for the coat to dry ensures a hard finish.
- Sand Between Coats: Once the varnish is fully dry, lightly sand the entire surface with very fine grit paper (400-grit or higher). This scuffs the surface and removes any imperfections, which helps the next coat adhere better and results in a glass-smooth finish.
- Clean and Repeat: Wipe away all the sanding dust with a tack cloth. Then, apply your next thin coat of varnish.
For maximum durability, you should aim for at least two, and preferably three coats, of varnish, sanding lightly between each one. This methodical approach is how you achieve that deep, glossy, professional look on your MDF furniture.

What If You Want to Paint MDF Instead of Using a Clear Varnish?
The process to paint MDF is almost identical to the process for varnishing. The only difference is that you are applying a colored coat instead of a clear one. All the hard work you did with the preparation, edge sealing, and priming has created the perfect canvas for your paint.
After you have applied two coats of your chosen primer and have sanded it smooth, you are ready to paint. High-quality interior latex or acrylic enamel paint works wonderfully on a well-primed MDF board. Enamel paints are a particularly good choice for furniture and cabinets as they dry to a hard, durable finish.
Just like with the primer and varnish, apply the paint in multiple thin coats using a high-quality brush or foam roller. Let each coat dry thoroughly before applying the next. A light sanding with fine sandpaper (400-grit) between coats will give you the smoothest possible result. Typically, two coats of colored paint over your primer will provide full, rich coverage. For added protection, especially on high-wear surfaces like tabletops, you can still apply a clear top coat of varnish over your final coat of paint.
How Can You Personalise Your MDF Project with Paint and Varnish?
The beauty of MDF is that it’s a blank slate, allowing you to personalise your projects in endless ways. Once you master the fundamental process to seal and prime the MDF, you can get creative with your finishes.
You can play with different sheens to create visual interest. For example, you could paint a piece of furniture with a satin or eggshell paint, and then use a high-gloss varnish on just the top surface for extra durability and a contrasting look. You can also use painter’s tape to create geometric patterns or stripes with different colors of paint. The smooth surface of the MDF board is perfect for this, allowing for crisp, clean paint lines.
For those looking for an even more custom look, our factory can supply decorative laminated melamine paper that can be applied to raw MDF, giving you a pre-finished panel with a perfect finish from the start. But for a truly unique, hand-finished project, the combination of paint and varnish allows you to create a piece that is uniquely yours. From a simple painted shelf to an ornate cabinet, the right finish turns a simple MDF sheet into a masterpiece.
Key Takeaways for Finishing MDF
- Never Skip Preparation: Always start by lightly sanding your MDF board and cleaning it thoroughly to remove all dust.
- Seal the Edges First: This is the most important step. Use wood glue, drywall compound, or a shellac-based primer to seal the porous cut edges before priming the rest of the board.
- Use the Right Primer: A solvent-based primer (shellac or oil) is the best choice for the initial sealing coat to prevent the MDF fibers from swelling.
- Apply Multiple Thin Coats: Whether you’re applying primer, paint, or varnish, two or three thin coats are always better than one thick coat.
- Sand Between Coats: For the smoothest possible finish, lightly sand with fine-grit sandpaper between each coat of primer, paint, or varnish, and clean away the dust each time.
- Patience is Key: Allow each coat to dry completely according to the manufacturer’s instructions. Rushing the process will ruin your finish.
Post time: 09-24-2025