Medium-Density Fiberboard, or MDF, is a fantastic material for furniture, cabinets, and decorative projects. It’s affordable, stable, and has a smooth surface perfect for painting. However, cutting MDF presents unique challenges that can frustrate even experienced DIYers. The fine dust it produces and its tendency to chip or create a fuzzy edge require specific tools and techniques. This guide is your complete resource for mastering MDF cutting. As a manufacturer with years of experience providing high-quality MDF to professionals like Mark Thompson in the USA, I, Allen, want to share the insider tips that will help you achieve clean, precise cuts every single time, whether you’re using a simple hand tool or an advanced CNC machine.
What Exactly is MDF and Why is Cutting It a Unique Challenge?
MDF, or Medium-Density Fiberboard, is an engineered wood product. We create it by breaking down hardwood or softwood residuals into fine wood fibers, combining them with wax and a resin binder, and forming panels by applying high temperature and pressure. Unlike solid wood, MDF has no grain, which gives it a consistent density and a smooth surface. This uniformity is a huge advantage for many applications, especially when a flawless paint finish is the goal.
However, this same composition is what makes cutting MDF a specific skill. The fine fibers, when cut, become a cloud of very fine dust—much finer than sawdust from regular wood. This dust can be a respiratory irritant. Furthermore, the edges of a cut MDF board can be prone to "tear-out" or become fuzzy if the wrong blade or technique is used. The resin binders can also dull a saw blade more quickly than natural wood. Understanding these properties is the first step toward a successful cutting process. It’s not harder than cutting other materials; it just requires the right approach and the right tool.
From my factory floor, I see thousands of MDF panels being processed daily. We ensure our Custom Raw Plain MDF Board 0.8mm-25mm has a consistent core density, which helps in achieving cleaner cuts. But even with the highest quality board, the final result depends heavily on the end-user’s cutting technique. A procurement officer like Mark knows that buying a quality panel is only half the battle; proper processing is key to transforming that panel into a high-value product.
Safety First: What Precautions Must You Take Before Cutting MDF?
Before you make a single cut, let’s talk about safety. This is non-negotiable. The dust produced from cutting MDF is composed of tiny wood fibers and the resin used to bind them. Inhaling these fine dust particles can cause respiratory irritation and other health issues over time. Therefore, safety first is the most important rule.
Here’s a simple checklist to follow every time you start an MDF cutting project:
- Respiratory Protection: Always wear a high-quality dust mask or a respirator. A simple paper mask isn’t enough. Look for one rated for fine particles, like an N95 or P100 respirator.
- Eye Protection: Safety glasses or goggles are a must. They protect your eyes from both airborne dust and any small chips that might fly off the board during cutting.
- Ventilation: Work in a well-ventilated area. If you’re indoors, open windows and doors, and use a fan to direct dust away from your workspace. A shop vacuum with a fine dust filter connected directly to your saw is the ideal solution.
- Hearing Protection: Power tools are loud. Protect your hearing with earplugs or earmuffs, especially during prolonged cutting sessions.
As a supplier, I’m responsible for ensuring our products meet standards like CARB P2 for low formaldehyde emissions. But the mechanical process of cutting the board releases dust regardless of the board’s chemical makeup. Taking these precautions ensures you can work with this versatile material safely and effectively for all your DIY projects.
Which Hand Tool is Best for Cutting Thinner MDF Panels?
While power tools are generally recommended for cutting MDF, you might find yourself needing to cut very thinner panels (around 1/8" or 3mm) for smaller projects like cabinet backs or decorative inlays. For these specific situations, you can actually get a clean cut using a simple hand tool: a utility knife or a box cutter. This method is surprisingly effective but requires patience and precision.
The technique is to score the cut line repeatedly rather than trying to cut through in one go. First, use a sturdy straight edge or a ruler as your guide. Press down firmly and make the first pass with your utility knife. This initial score creates a guide for subsequent passes. Continue to make several more passes, applying steady pressure each time, cutting deeper into the MDF board. After you’ve cut about halfway through the material, you can carefully snap the board along the scored line.
This method gives you a surprisingly clean edge on thin MDF without the dust and noise of power tools. However, it is not suitable for thick MDF or for making many cuts, as it’s time-consuming. For anything thicker than about 1/4 inch (6mm), you absolutely need to move on to power tools to get a good result and avoid frustration.
How Do You Achieve a Perfectly Straight Edge When Cutting MDF with a Circular Saw?
A circular saw is one of the most common power tools available to DIYers and professionals for cutting large sheets of MDF. With the right technique, you can achieve perfectly straight cuts. The key challenge when using a circular saw is preventing the blade from wandering and avoiding chipping on the top surface of the board.
Here’s the best way to get a great result with a circular saw to cut MDF:
- Choose the Right Blade: This is the most critical step. Do not use a standard wood-cutting blade with a low tooth count. For MDF, you need a carbide-tipped blade with a high tooth count (60-80 tooth or more). This will produce a much smoother cut and minimise chipping.
- Use a Guide: Don’t try to freehand the cut. Clamp a straight edge (like a level or a factory-cut piece of plywood) to your MDF sheet to guide the saw. Measure the distance from the edge of your saw’s base plate to the blade, and clamp your guide at that offset from your desired cut line.
- Prevent Tear-Out: MDF is prone to chipping, especially on the top surface where the saw blade exits the material. A great tip is to apply painter’s tape along the cut line before cutting. This helps hold the surface fibers together. Another professional trick is to make a shallow "scoring cut" first (about 1/8" deep) by running the saw backward along the cut line, and then make the full-depth pass going forward.
When making the cut, maintain a steady forward motion. Don’t force the saw; let the blade do the work. This steady feed rate prevents the motor from bogging down and reduces the chance of burning the edge of the MDF. Following these steps will transform your circular saw into a precision panel cutting tool.
Is a Table Saw the Ultimate Tool for Precision MDF Cutting?
For professionals who need to make a high volume of repeatable, highly accurate cuts, a table saw is the undisputed champion for cutting MDF. If you are building cabinets or furniture that requires precise joinery, the table saw offers a level of control and precision that handheld power tools can’t easily match. It excels at creating perfectly square edges and ripping down large MDF panels to exact dimensions.
The principles for getting a clean cut on a table saw are similar to those for a circular saw, but with more stability. A high-tooth-count carbide blade (80-100 tooth) is essential. A "triple-chip grind" (TCG) blade profile is often recommended for engineered materials like MDF and melamine because it’s designed to minimise chipping. Additionally, using a zero-clearance insert is a fantastic upgrade. This is a small plate that fits around the saw blade, leaving no gap for the material to chip or fall into, resulting in an exceptionally clean bottom edge.
When feeding the MDF sheet through the blade, ensure the "good" side of the panel is facing up, as the teeth of the table saw blade cut on the downstroke. This means any potential chipping will occur on the bottom face, which is often less visible. Use a push stick for safety, maintain a steady feed rate, and ensure the board is held firmly against the rip fence throughout the cut. For large MDF sheets, having an outfeed table or a helper to support the board is crucial for safety and accuracy.
Can You Cut Intricate Shapes and Curves in MDF with a Jigsaw?
So far, we’ve focused on straight cuts. But what if your project requires a curve or an intricate, irregular shape? This is where the jigsaw becomes an invaluable tool. A jigsaw is designed specifically for cutting non-linear paths and can be used to create everything from gentle curves for a tabletop to complex cutouts for decorative elements.
The key to successfully cutting MDF with a jigsaw is, once again, blade selection. You need a blade with fine, numerous teeth. Many manufacturers make blades specifically for laminates and engineered woods, and these are perfect for MDF. Look for a "down-cut" blade, where the teeth point downwards. This pushes the wood fibers down during the cut, which significantly reduces chipping on the visible top surface of the board. Also, setting your jigsaw to a high RPM and turning off the orbital action will give you a cleaner, though slower, cut.
To get the best result, clamp your MDF panel securely so it doesn’t vibrate. Move the jigsaw slowly and steadily along your marked line, allowing the blade to do the cutting without forcing it. For tight curves, it’s better to make a series of relief cuts from the edge of the board to the cut line. This allows the waste material to fall away and prevents the jigsaw blade from binding. While a jigsaw may not leave a perfect finish right from the cut, it’s an excellent tool for creating the initial shape, which can then be smoothed and refined with a sander or a router.
What’s the Secret to a Professional Edge Finish Using a Router?
A router is a secret weapon for achieving a perfect edge on MDF. While saws are used for the initial cutting, a router is used for refining that cut to a perfectly smooth and shaped finish. It’s also the go-to tool for creating decorative edges, joinery like dadoes and rabbets, and perfectly flush-trimming two pieces of MDF. If you want your MDF project to look professionally made, mastering the router is a must.
For cleaning up a saw-cut edge, a straight-cutting router bit with a bearing (a flush-trim bit) is ideal. You can clamp a straight guide to your MDF panel and run the bearing along it, letting the cutter trim the edge of the MDF perfectly smooth and straight. This removes any saw marks or minor imperfections from the initial cut. We often see our customers, who purchase our high-quality melamine faced MDF boards, use this technique to create flawless edges where the melamine meets the core.
When routing MDF, use a sharp, high-quality carbide bit. A dull bit will tear the fibers and can burn the edge. It’s often better to make two shallow passes rather than one deep one. This puts less strain on the router and the bit, resulting in a cleaner cut. The feed rate is also important; moving too slowly can cause burning, while moving too quickly can lead to a rough finish. A steady, confident motion is the way to go. For routing shapes, a template and a pattern bit allow for perfect, repeatable results every time.

How Can You Minimise Tear-Out and Chip-Out for a Clean Finish?
Tear-out is the enemy of a clean MDF project. It’s the chipping and fuzzing that occurs along the edge of a cut. For our professional clients manufacturing high-end furniture, a chipped edge is unacceptable. Fortunately, there are several proven techniques to minimise this and ensure every cut is crisp and clean.
Here is a summary of the best practices:
- Use the Right Blade: As mentioned, a high tooth count (60T+) carbide-tipped blade is crucial for all saws. A dull or dirty blade will tear fibers instead of shearing them cleanly.
- Support the Material: Ensure the MDF sheet is fully supported on both sides of the cut line. A "sacrificial board" (a piece of scrap wood or foam insulation) placed underneath the MDF can provide this support and dramatically reduce tear-out on the bottom face.
- Score the Cut Line: Before making your main cut, use a utility knife to deeply score the cut line. This pre-cuts the top fibers, preventing them from lifting and chipping as the saw blade passes through.
- Tape the Cut Line: Applying a strip of painter’s tape along the cut line is a simple but effective trick. The tape provides extra support to the surface fibers, helping to prevent them from splintering.
- Control Your Feed Rate: Pushing the tool too quickly through the MDF forces the blade to chop rather than cut. A steady, moderate feed rate that allows the blade to operate at its optimal RPM will always produce a better result.
Combining these techniques will give you a dramatically improved finish straight off the saw. This reduces the amount of time you need to spend sanding and finishing the edge, saving you time and effort and leading to a more professional-looking final product.
What is CNC Routing and Why is It a Game-Changer for Cutting MDF?
For the ultimate in precision, repeatability, and complexity, nothing beats CNC (Computer Numerical Control) routing. A CNC machine is a computer-controlled cutting tool that can cut and shape MDF with incredible accuracy based on a digital design. In modern, large-scale furniture and cabinetry manufacturing, CNC is the standard for panel processing.
The process starts with a digital design file (like a CAD drawing). This file is sent to the CNC machine, which then automatically executes the cutting operations using a high-speed router bit. It can cut any shape imaginable, drill holes with perfect placement, and create complex joinery with a level of precision that is nearly impossible to achieve by hand. This technology is what allows for the creation of intricate decorative panels, modern furniture with complex curves, and perfectly fitting cabinet components. The result is flawless every time.
While a full-scale CNC machine represents a significant investment, they are the cornerstone of efficient manufacturing. For businesses like Mark’s, using a supplier with CNC capabilities or investing in their own ensures that every panel is cut to exact specifications, reducing waste and assembly time. It’s a true game-changer in the world of MDF cutting, transforming a raw MDF board into a precisely engineered component ready for assembly. We see many of our customers use our melamine impregnated paper on CNC-cut MDF to create stunning, custom furniture pieces.
After the Cut: How Do You Properly Sand and Paint an MDF Edge?
Getting a clean cut is a major victory, but the job isn’t done. The cut edge of an MDF board is much more porous than its face. If you try to paint it directly, the edge will soak up the paint like a sponge, resulting in a fuzzy, uneven finish that looks unprofessional. Properly sealing and sanding the edge is the final, crucial step to an aesthetically pleasing project.
First, lightly sand the cut edge with 220-grit sandpaper to knock down any loose fibers and make it smooth. A light touch is all that’s needed. Then, you must seal the edge. A common and effective method is to apply a thin coat of wood glue or drywall compound to the edge, spreading it evenly with your finger or a putty knife. Let it dry completely, and then sand it smooth again. This fills the porous fibers, creating a hard, non-absorbent surface.
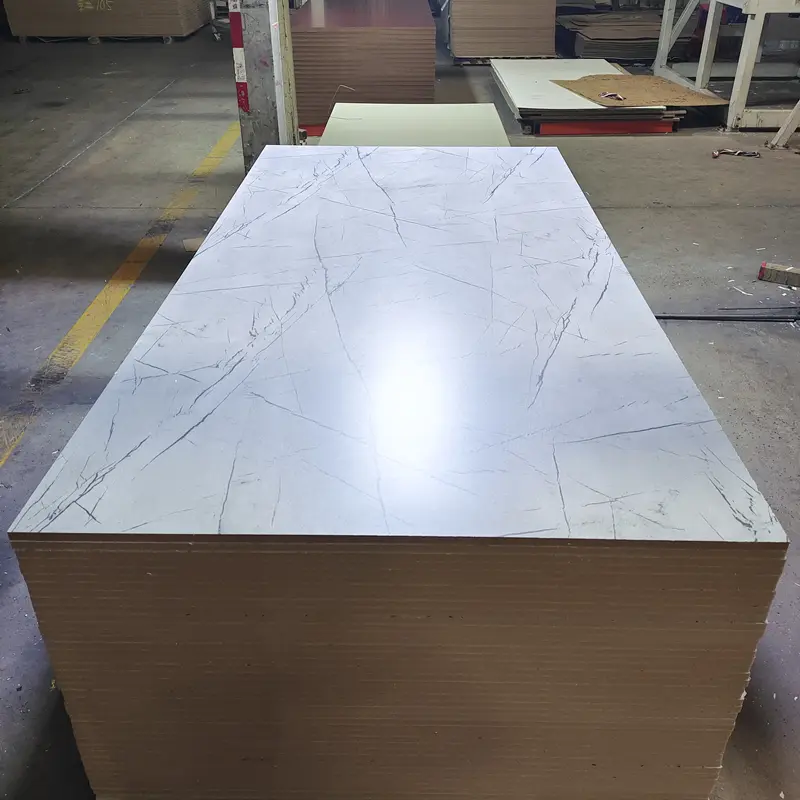
Once the edge is sealed and sanded, you’re ready for primer. Apply a good quality wood primer to the entire piece, paying special attention to the edges. After the primer is dry, you may need to do one final light sanding to get a perfectly uniform surface. Now, your MDF is ready for its final coat of paint. This preparation may seem tedious, but it is the only way to get a durable, glass-smooth painted finish on MDF that rivals the look of expensive lacquered wood. It’s the finishing touch that separates amateur work from professional craftsmanship, and it’s especially important when working with products like our white melamine MDF boards where a seamless edge treatment is vital.
Key Takeaways for Perfect MDF Cutting
- Safety is Paramount: Always wear a respirator, eye protection, and work in a well-ventilated area to manage the fine dust from cutting MDF.
- Choose the Right Blade: For any saw, a high tooth count (60T+) carbide-tipped blade is essential to minimise chipping and get a clean finish.
- Support Your Work: Use a sacrificial board underneath and a clamped straight edge as a guide to ensure your cuts are straight, accurate, and free of tear-out.
- Use the Right Tool for the Job: Use a circular saw or table saw for straight cuts, a jigsaw for curves, and a router for perfecting the final edge and adding details.
- Don’t Skip the Finishing Steps: A cut MDF edge must be sealed (with glue or drywall compound) and primed before painting to achieve a smooth, professional result.
Post time: 08-22-2025